
How to use AirTable for Social Media Automation
Social media is a pain and scheduling it is even harder. Finding a good social media management tool, can at times, feel impossible. That’s when I realized that the solution I was looking for wasn’t necessarily one that existed just yet. I wanted something that functioned like a spreadsheet but was tailored to my personal social media needs as a content creator and social media manager. This is when I realized that I could use Air Table to accomplish this.
The first thing you’ll need to do is set up your Social Media Air Table Template. You can copy mine, or create your own.
For social media there are a ton of categories that might matter to you, for example you may want to have your social media set up in a way that has the same image post to all of your social media accounts. However, if you’re an avid Twitter User, you might be worried about “The Crop” effect and so having an image size for Twitter and an image size for Facebook, might be important to you.
Below is the full list of columns that are currently in our social media automation document. This may be added to in the future as we improve this document.
Post Name
Post Time
Status
Game
Social Media Copy
Character Limit Count
Formula:
IF(LEN({Social Media Copy})>280, "❌Over Limit", "✅Under Limit")
URL Link
Time Slot
Image (Facebook)
Image (Twitter)
Image (Instagram)
Force Post
Countdown
Formula:
DATETIME_DIFF({Post Time}, {Todays Date/Time}, 'minutes')
Formula for current date
Formula:DATETIME_FORMAT(NOW(), 'MM-DD-YYYY HH:MM')
1. Post Name

I hate when I’m trying to talk to someone about a social media post and I call it, “You know that one with the thingy”, so this is what we’re calling our social media post, by name, We recommend adding a naming convention to the" “info” part of that column on your air table.
By right clicking any of the headers you’ll be able to see a number of options one of which includes “Edit Field Description” where you can list the naming convention for that column that way everyone on your team knows how to name your social media content.
2. Post Time, 13. Countdown & 14. Formula
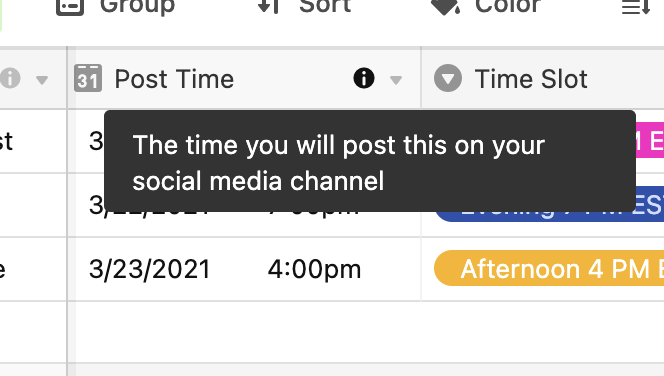
This is the time at which your social media post will be posted. This column must exist in order for the automation to activate. In order for the automation to activate, you’ll need this Column as well as the {Countdown} and {Date} Columns. The automation relies on subtracting the Post Time from the {Date} which is set to today’s Day and time in the format of MM/DD/YYY HH:MM. When the {Countdown} Column equals 0, the automation triggers and posts your content to your social media channels.
3. Status
This Column MUST be set to (Scheduled) in order for the automation to fire. This is an easily customizable column and is mostly here to prevent accidental posting to social media accounts.
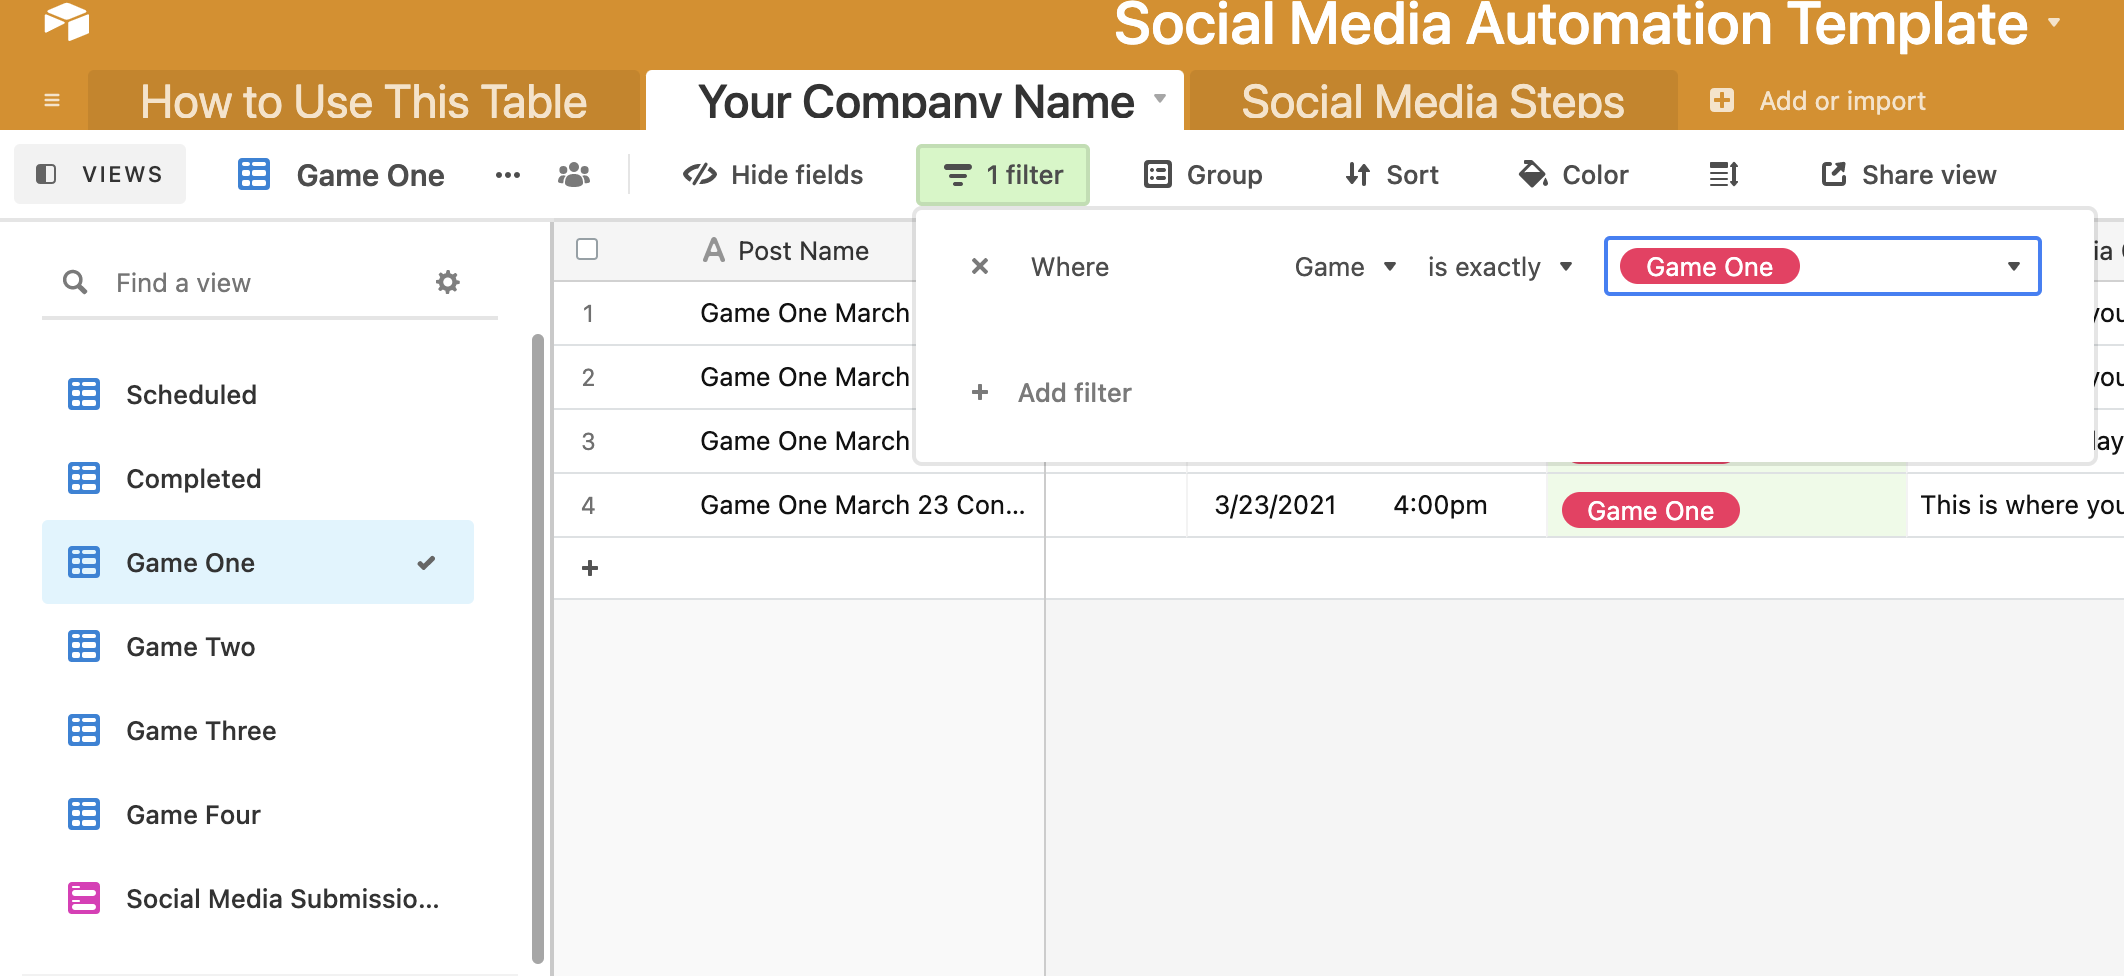
4. Game
This is for the title of your game, or product. These tags are important so you can easily track by game category
5. Social Media Copy & 6. Character Limit
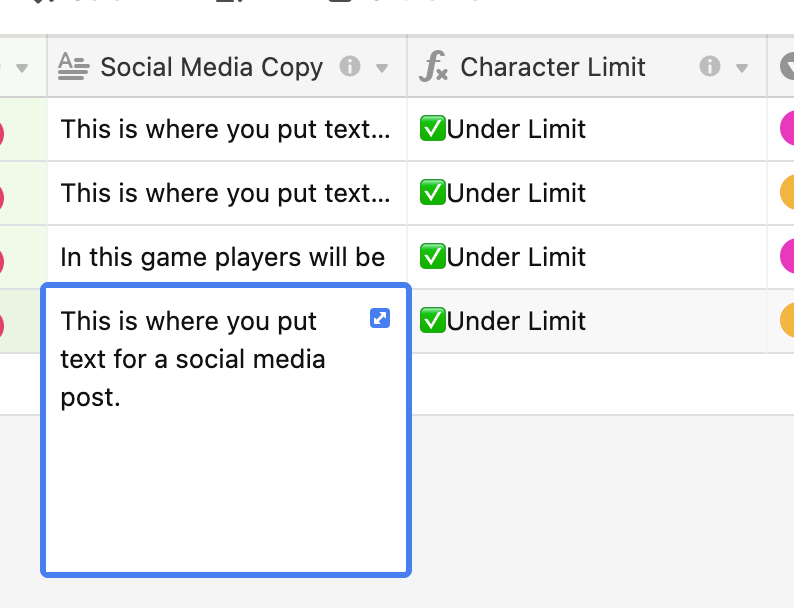
This is the text that will accompany your social media post and along side is is a Character Limit Tracker that won’t let you go over 280 Characters without letting you know it’s over the limit.
Formula for Character Limit Column:
IF(LEN({Social Media Copy})>280, "❌Over Limit", "✅Under Limit")
7. URL Link
This is simply the link that you will link to in your social media post such as your landing page, kickstarter page or even the content you’re sharing such as a youtube link.
8. Time Slot
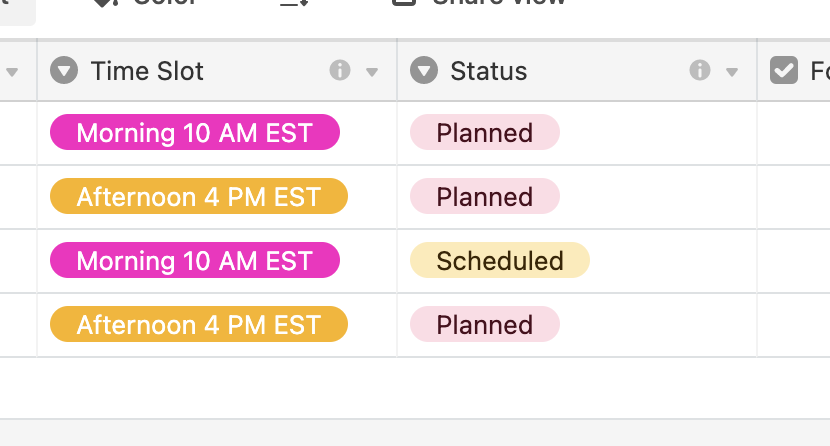
This is the time slot that the person who submitted the post has requested. This can be easily customized for various time slots that your team wants to post in. That said, this is not at all connected to the actual posting time and there are no automations linked to this select box. It’s here to tell the social media manager when they would like the posts to be made. It’ll be up to someone with access to the AirTable to actually schedule it at its appropriate time and change its {Status} to (Scheduled).
9. 10. & 11. Social Media Images
These are the images that will accompany your posts. In your automations, I have Facebook and Twitter automations set up to post the {Image(Platform)} + {Social Media Copy} followed by the {URL Link}.
12. Force Post
If you press this button, it will force your post to automatically post to social media in case you don’t want to wait for the scheduled time and need to launch a post early.